
Why
There might be a situation where you want to deploy your backend on an ubuntu server but you don’t have/want to deploy your backend as a docker container.
Pre Requisites
- Basic Linux
- Golang (any backend-specific language like nodejs or python)
Introduction
I will be making a simple GO backend which is a sister application to a socket io chat server. I have used the go-fiber web framework and mongoDB as the database. For deploying the code on a Linux environment, I will be using a raspberry pi which has Debian installed in it. All this procedure will work on ubuntu and ubuntu based distros as well. This procedure can also be followed for remote instances like an AWS ec2 instance or a GCP compute engine. We will also use NGINX as reverse proxy to expose our service.
SSHing into the Pi
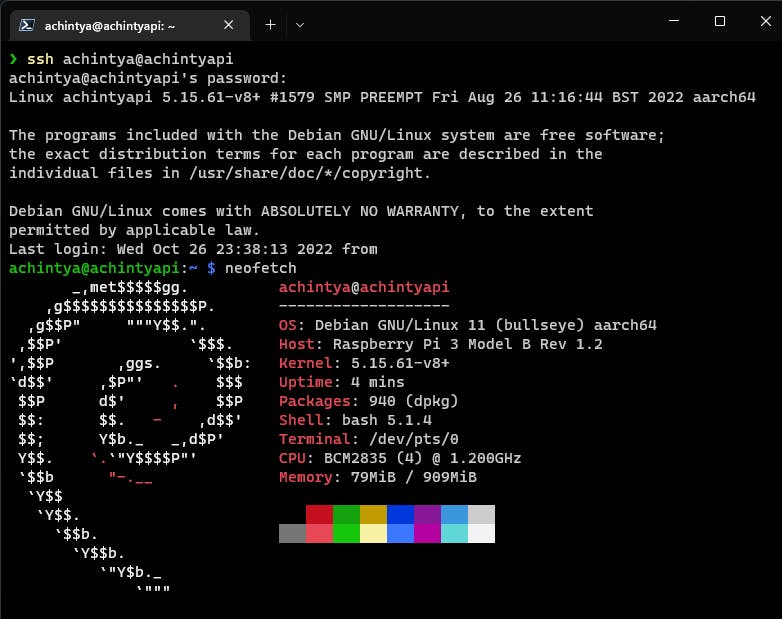
Now, let’s update the Linux Packages
sudo apt update
sudo apt upgrade
After that, we can install the required packages using this
sudo apt install golang-go git nginx
Pulling and Setting up GO code
We can now use git to clone the codebase from GitHub and build an executable file. You can clone any of your projects or clone mine as well.
git clone https://github.com/achintya-7/go-fiber-chat.git
cd go-fiber-chat/
This is a snippet of main.go file. You can see the server is deployed to port 4000.
package main

 import (
         "github.com/achintya-7/go-fiber-chat/configs"
         "github.com/achintya-7/go-fiber-chat/routes"
         "github.com/gofiber/fiber/v2"
 )

 func main() {

         app := fiber.New()

         configs.ConnectDB()

         app.Get("/", func(c *fiber.Ctx) error {
                 return c.Status(200).JSON(fiber.Map{
                         "Status":         "200",
                         "API is running": "Successfully",
                 })
         })

         routes.UserRoute(app)
         routes.ChatRoute(app)

         app.Listen("127.0.0.1:4000")

 }
Now would be the right time to make a .env file and add all your secrets. If you are following the go-fiber-chat. You will require a Mongo URI and add it to the .env file
touch .env
nano .env
Add this in the .env file
MONGO_URI="mongodb+srv://{mongo username}:{mongo password}@####.net/test"
Let’s run the code and check it
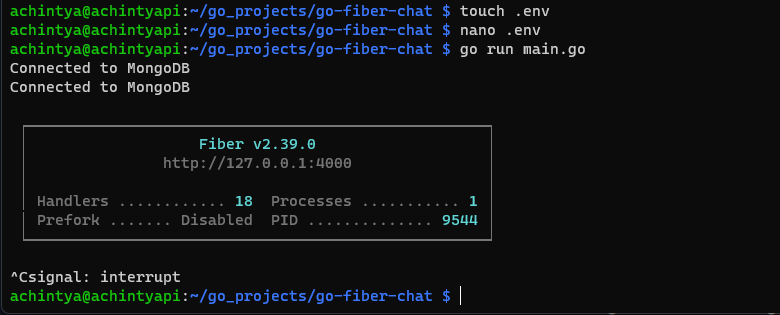
It’s working fine now. Build the application using the following command.
go build main.go
Making a Systemd File
Systemd is a system and service manager for Linux. It offers on-demand starting of daemons and keeps track of processes using Linux cgroups. Let’s see how to make one.
cd /lib/systemd/system
sudo nano gochat.service
Now add this snippet to your config file
[Unit]
Description=gochat

[Service]
Type=simple
Restart=always
RestartSec=5s
ExecStart=/home/achintya/go_projects/go-fiber-chat/main
EnvironmentFile=/home/achintya/go_projects/go-fiber-chat/.env


[Install]
WantedBy=multi-user.target
Here,
- The variable ExecStart indicates the point of entry for the service through the main executable located in our project directory.
- The variable Restart tells systemd what to do in the event the program stops running. The value always tells systemd to restart the program every single time it stops executing.
- The variable RestartSec tells systemd to wait a specific amount of time before attempting to restart the program. Here, the value is set to 5s (5 seconds).
- The variable EnvironmentFile is a way to load our .env file. We can also declare multiple EnvironmentFile variables to load different files.
- The statement WantedBy=multi-user.target specifies in what state systemd will enable the service.
Note: Only for GO users
You might want to change a small snippet of code to make the code run properly without error.
nano go-fiber-chat/configs/env.go
replace the code with from this
package configs

import (
	"log"
	"os"

	"github.com/joho/godotenv"
)

func GetEnv(key string) string {
	err := godotenv.Load()
	if err != nil {
		log.Fatal("Error loading .env file")
	}
	return os.Getenv(key)
}
to this
package configs

import (
        "os"
)

func GetEnv(key string) string {
        return os.Getenv(key)
}
As the env file is getting loaded from the EnvironmentFile variable, we don’t need this extra package.
Now, let’s run the service with the following command
sudo systemctl start gochat.service
sudo systemctl status gochat.service
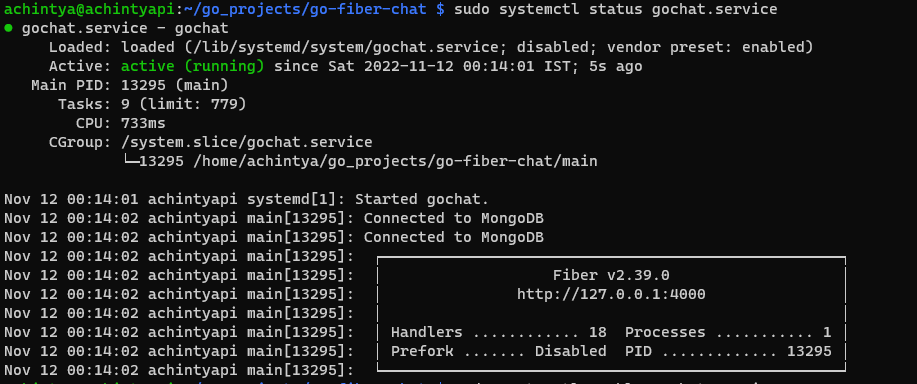
Our service is running successfully in the background. Now also run this command to start this service whenever the machine boots up.
sudo systemctl enable gochat.service
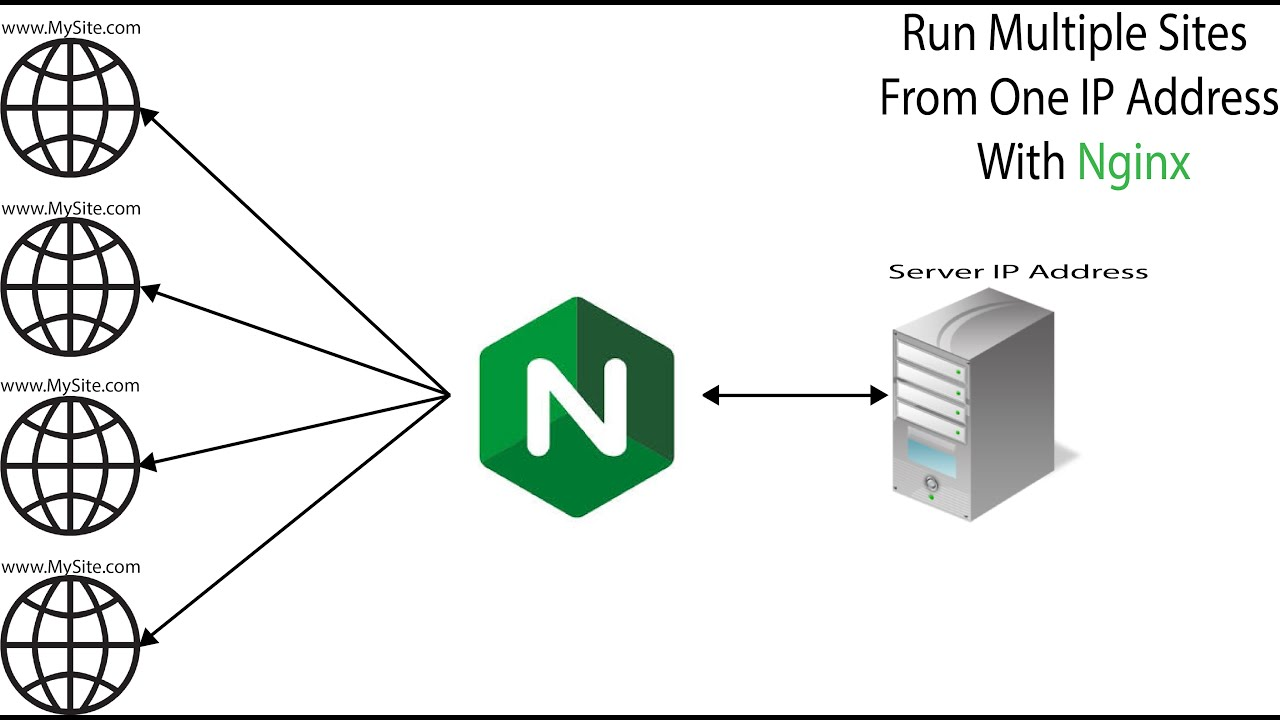
Setting up NGINX as a reverse proxy
Now, we will create a server block for Nginx to act as a reverse proxy. The web app will be exposed to the internet through the reverse proxy (for additional performance and security). Sound cool but what exactly is a reverse proxy?
A reverse proxy server is a type of proxy server that typically sits behind the firewall in a private network and directs client requests to the appropriate backend server. A reverse proxy provides an additional level of abstraction and control to ensure the smooth flow of network traffic between clients and servers.
Essentially your network’s traffic cop, the reverse proxy serves as a gateway between users and your application origin server. In so doing it handles all policy management and traffic routing.
A reverse proxy operates by:
- Receiving a user connection request
- Completing a TCP three-way handshake, terminating the initial connection
- Connecting with the origin server and forwarding the original request
Let’s see if NGINX is running
If we have been working with a VM instance from a cloud provider, they will provide you with a static public IP address which can be used over the internet. In my case, I can’t get a static public IP address for now as the WiFi will change the IP address periodically. Another approach can be is the application of dynamic DNS (DDNS). This links your dynamic public IP address with a domain name. Every time, as soon as your IP address changes, a program redirects the new address to the domain name and makes it permanently available on the internet. Now if you link a server on Raspberry Pi with the domain name, it’s permanently accessible online. For demonstration purposes, I will be using my private IP address. You can get it by using this command
hostname -I
Let’s copy the public address and paste it into the browser. You’ll see something like this.
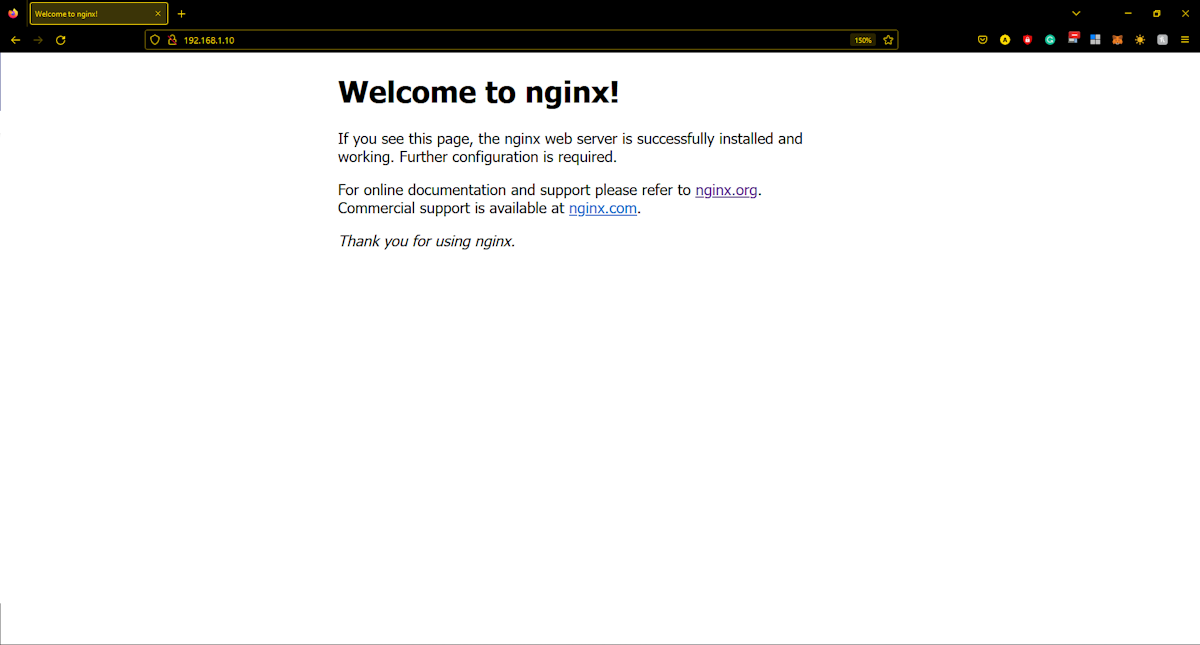
It means our NGINX proxy is working properly.
Let’s write a config file to expose our backend
Go to the following directory and make a new config file
cd /etc/nginx/sites-available
sudo nano chatserver
Paste the following content into the editor
server {
    location / {
        proxy_pass http://localhost:4000;
        proxy_http_version 1.1;
        proxy_set_header Upgrade $http_upgrade;
        proxy_set_header Connection 'upgrade';
        proxy_set_header Host $host;
        proxy_cache_bypass $http_upgrade;
   }
}
$http_upgrade is a variable which can upgrade our HTTP connection to a WebSocket connection for realtime data transfer.
Next, create a symlink of this Nginx configuration in the sites-enabled folder by running the following command:
sudo ln -s /etc/nginx/sites-available/chatserver /etc/nginx/sites-enabled/chatserver
Now cd into the sites-enabled directory and delete the default file
cd ..
cd sites-enabled
rm default
Now we are done and all we have to do is reload NGINX and restart its service.
sudo nginx -s reload
sudo systemctl restart nginx.service
Let’s check our browser again and reload
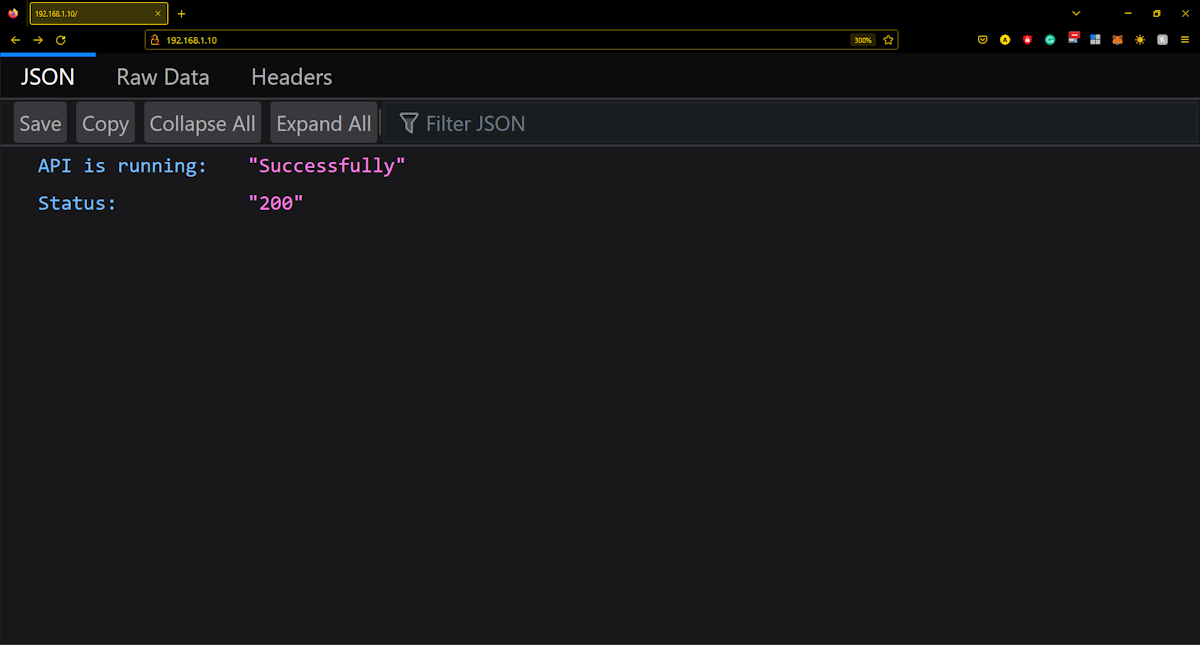 And VOILA!!!
Our web server is working perfectly.
And VOILA!!!
Our web server is working perfectly.
How to Connect me
If you are reading this. Thank you for giving my blog a read. Hope it helped you and you learned something new. You can check out my other blogs as well from my profile. You can also get all my socials from this link.